Quick & Easy Air-Fried Mongolian Chicken with Protein Mac and Cheese
This post may contain affiliate links which means I may receive a commission from purchases made through links. I will only recommend products I have personally used! Learn more on my private policy page.
If you’re anything like me, you want your meal prep to hit every note—bold flavor, satisfying texture, high protein, and smart calories. This Sticky Mongolian BBQ Chicken & Creamy High-Protein Mac and Cheese combo is a weekly go-to that delivers all that and more.
This isn’t your average clean-eating meal prep. We’re talking sweet, garlicky Mongolian BBQ sauce coating crispy air-fried chicken bites, paired with ultra-creamy, cheesy mac and cheese made with high-protein, low-fat ingredients. It’s indulgent without the setback.
Perfect for busy weeks, this 4-bowl meal prep keeps well, reheats beautifully, and leaves you actually looking forward to your next lunch or dinner. Here are my glass meal prep containers I use every week!

Why You’ll Love This Meal Prep Combo
✨ Bold Flavor Meets Better Choices
You get takeout-style Mongolian BBQ flavor without the grease or sugar overload. Plus, the mac and cheese tastes rich and cheesy—but it’s lightened up with a clever blend of cottage cheese, light cheeses, and nutritional yeast.
🔥 High in Protein, Lower in Guilt
Each bowl packs in around 30–35g of protein and stays in the 450–500 calorie range. It’s designed for those chasing gains, managing macros, or just trying to eat smarter without sacrificing taste.
✅ WW-Friendly & Macro-Conscious
Depending on brands used, this meal lands around 6–7 WW Points per bowl. It’s a great option for anyone following WW, IIFYM, or high-protein/low-calorie meal plans.
⏱️ Done in Under 30 Minutes
This recipe is all about smart shortcuts. Using Just Bare Chicken Bites and a quick stovetop cheese sauce, you can have your meals packed and ready in under half an hour.
📦 Meal Prep Perfection
These bowls store well in the fridge for 4–5 days, making them perfect for grab-and-go lunches or quick weeknight dinners. Just reheat and dig in.

🔥 Why Air Fryer Cooking Takes This Over the Top
For this recipe, I used my Instant Pot Air Fryer with the rotisserie feature, and it made all the difference.
Rotisserie-style air frying helps the Just Bare Lightly Breaded Chicken Bites get perfectly crisp on all sides—no flipping needed and no soggy bottoms. It ensures each bite is evenly cooked, golden, and ready to soak up that sticky Mongolian BBQ sauce.
If you’ve got a rotisserie setting on your air fryer, this is the recipe to use it on. The rotating action gives you restaurant-quality texture with zero extra oil.

Quick Recap of Why These Kitchen Tools Work
Rotisserie Air Fryer Magic: Perfectly crisp chicken, evenly cooked with zero flipping—just set it and let it spin.
Ninja Blender = Silky Cheese Sauce: Blending cottage cheese makes the mac ultra-creamy without adding fat or flour.
Meal Prep Containers That Fit: Portion-perfect containers make storing (and reheating) your bowls mess-free and convenient.
Digital Kitchen Scale Precision: Nail your macros and portions every time without the guesswork
6-Quart Over-the-Sink Strainer: Makes draining pasta quick and convenient without crowding your prep area.
3-Piece Pyrex Mixing Bowls: Ideal for mixing, microwaving, and storing sauces or shredded ingredients—durable and versatile for any recipe.
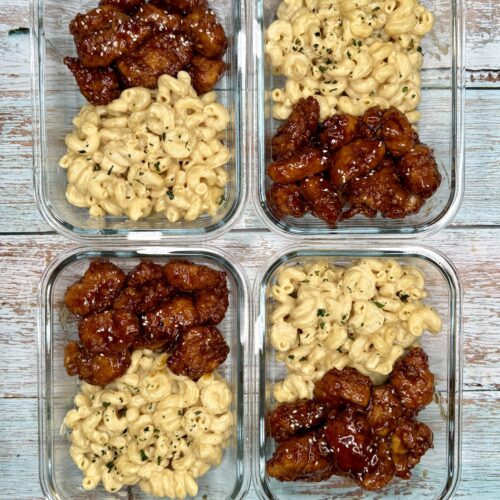
Air-Fried Sticky Mongolian BBQ Chicken and Protein Mac & Cheese
Equipment
- 1 Air Fryer
- 1 Ninja/Blender
- 2 Sauce Pans
- 1 Large Strainer
- 1 Large Mixing Bowl
- 4 Glass Lunch Containers
Ingredients
Air-Fried Sticky Crispy Mongolian BBQ Chicken
- 12 oz Just Bare Lightly Breaded Chicken Bites
- 1/4 cup Light Soy Sauce
- 3 tbsp Splenda Brown Sugar Substitute
- 1 tbsp Hoisin Sauce
- 1 tbsp Wholesome Yum Keto Honey
- 1 clove Garlic
- 1 tsp Minced Ginger
- 2 tbsp Water
- 1 tsp Corn Starch
Protein Mac & Cheese
- 4 oz Al Denta Carba Nada Cavatappi
- 3/4 cup Low Fat Cottage Cheese
- 1/2 cup Unsweetened Almond Milk
- 5 tbsp Nutritional Yeast
- 4 wedges White Cheddar Laughing Cow Cheese
- 3 slices Velveeta Cheese
- 1/2 cup 3 Cheese Blend Shredded
- 2 tsp Dijon Mustard (optional but worth it!)
- 1 tsp White Pepper
- 1 tsp Garlic Powder
Instructions
- Air fry your chicken at 400 degrees for 15 minutes – do this in TWO batches
- While your chicken cooks, boil your pasta
- As your pasta is boiling and chicken is cooking, blend the following: cottage cheese, almond milk, garlic powder, dijon mustard and nutritional yeast. Then set aside.
- At this point, your first batch of chicken should be done, put into a large mixing bowl and set aside. Then start your next batch of chicken.
- Start making your sauce. Bring everything but the corn starch up to a boil.
- Using a small bowl, mix 1 tbsp of water with your 1 tsp of corn starch until disolved. Turn down to simmer.
- Your pasta should be done, strain and leave aside.
- Take your pasta pan and heat up your blended sauce, cheese wedges, velveeta slices and shredded cheese.
- Once your cheese is melted together in a sauce, add your cooked pasta and mix really well then set aside.
- Your next batch of chicken should be done at this point and can be added to your big mixing bowl.
- Pour your sauce over your chicken and mix well so all your chicken is completely covered.
- Assemble your bowls with your pasta and then your chicken.
- You can add sesame seeds, green onion, parsley…just about anything you wish! ENJOY!
Notes
Nutrition
If you enjoy this Air-Fried Mongolian Chicken with Protein Mac and Cheese, you might also love these other delicious meals:
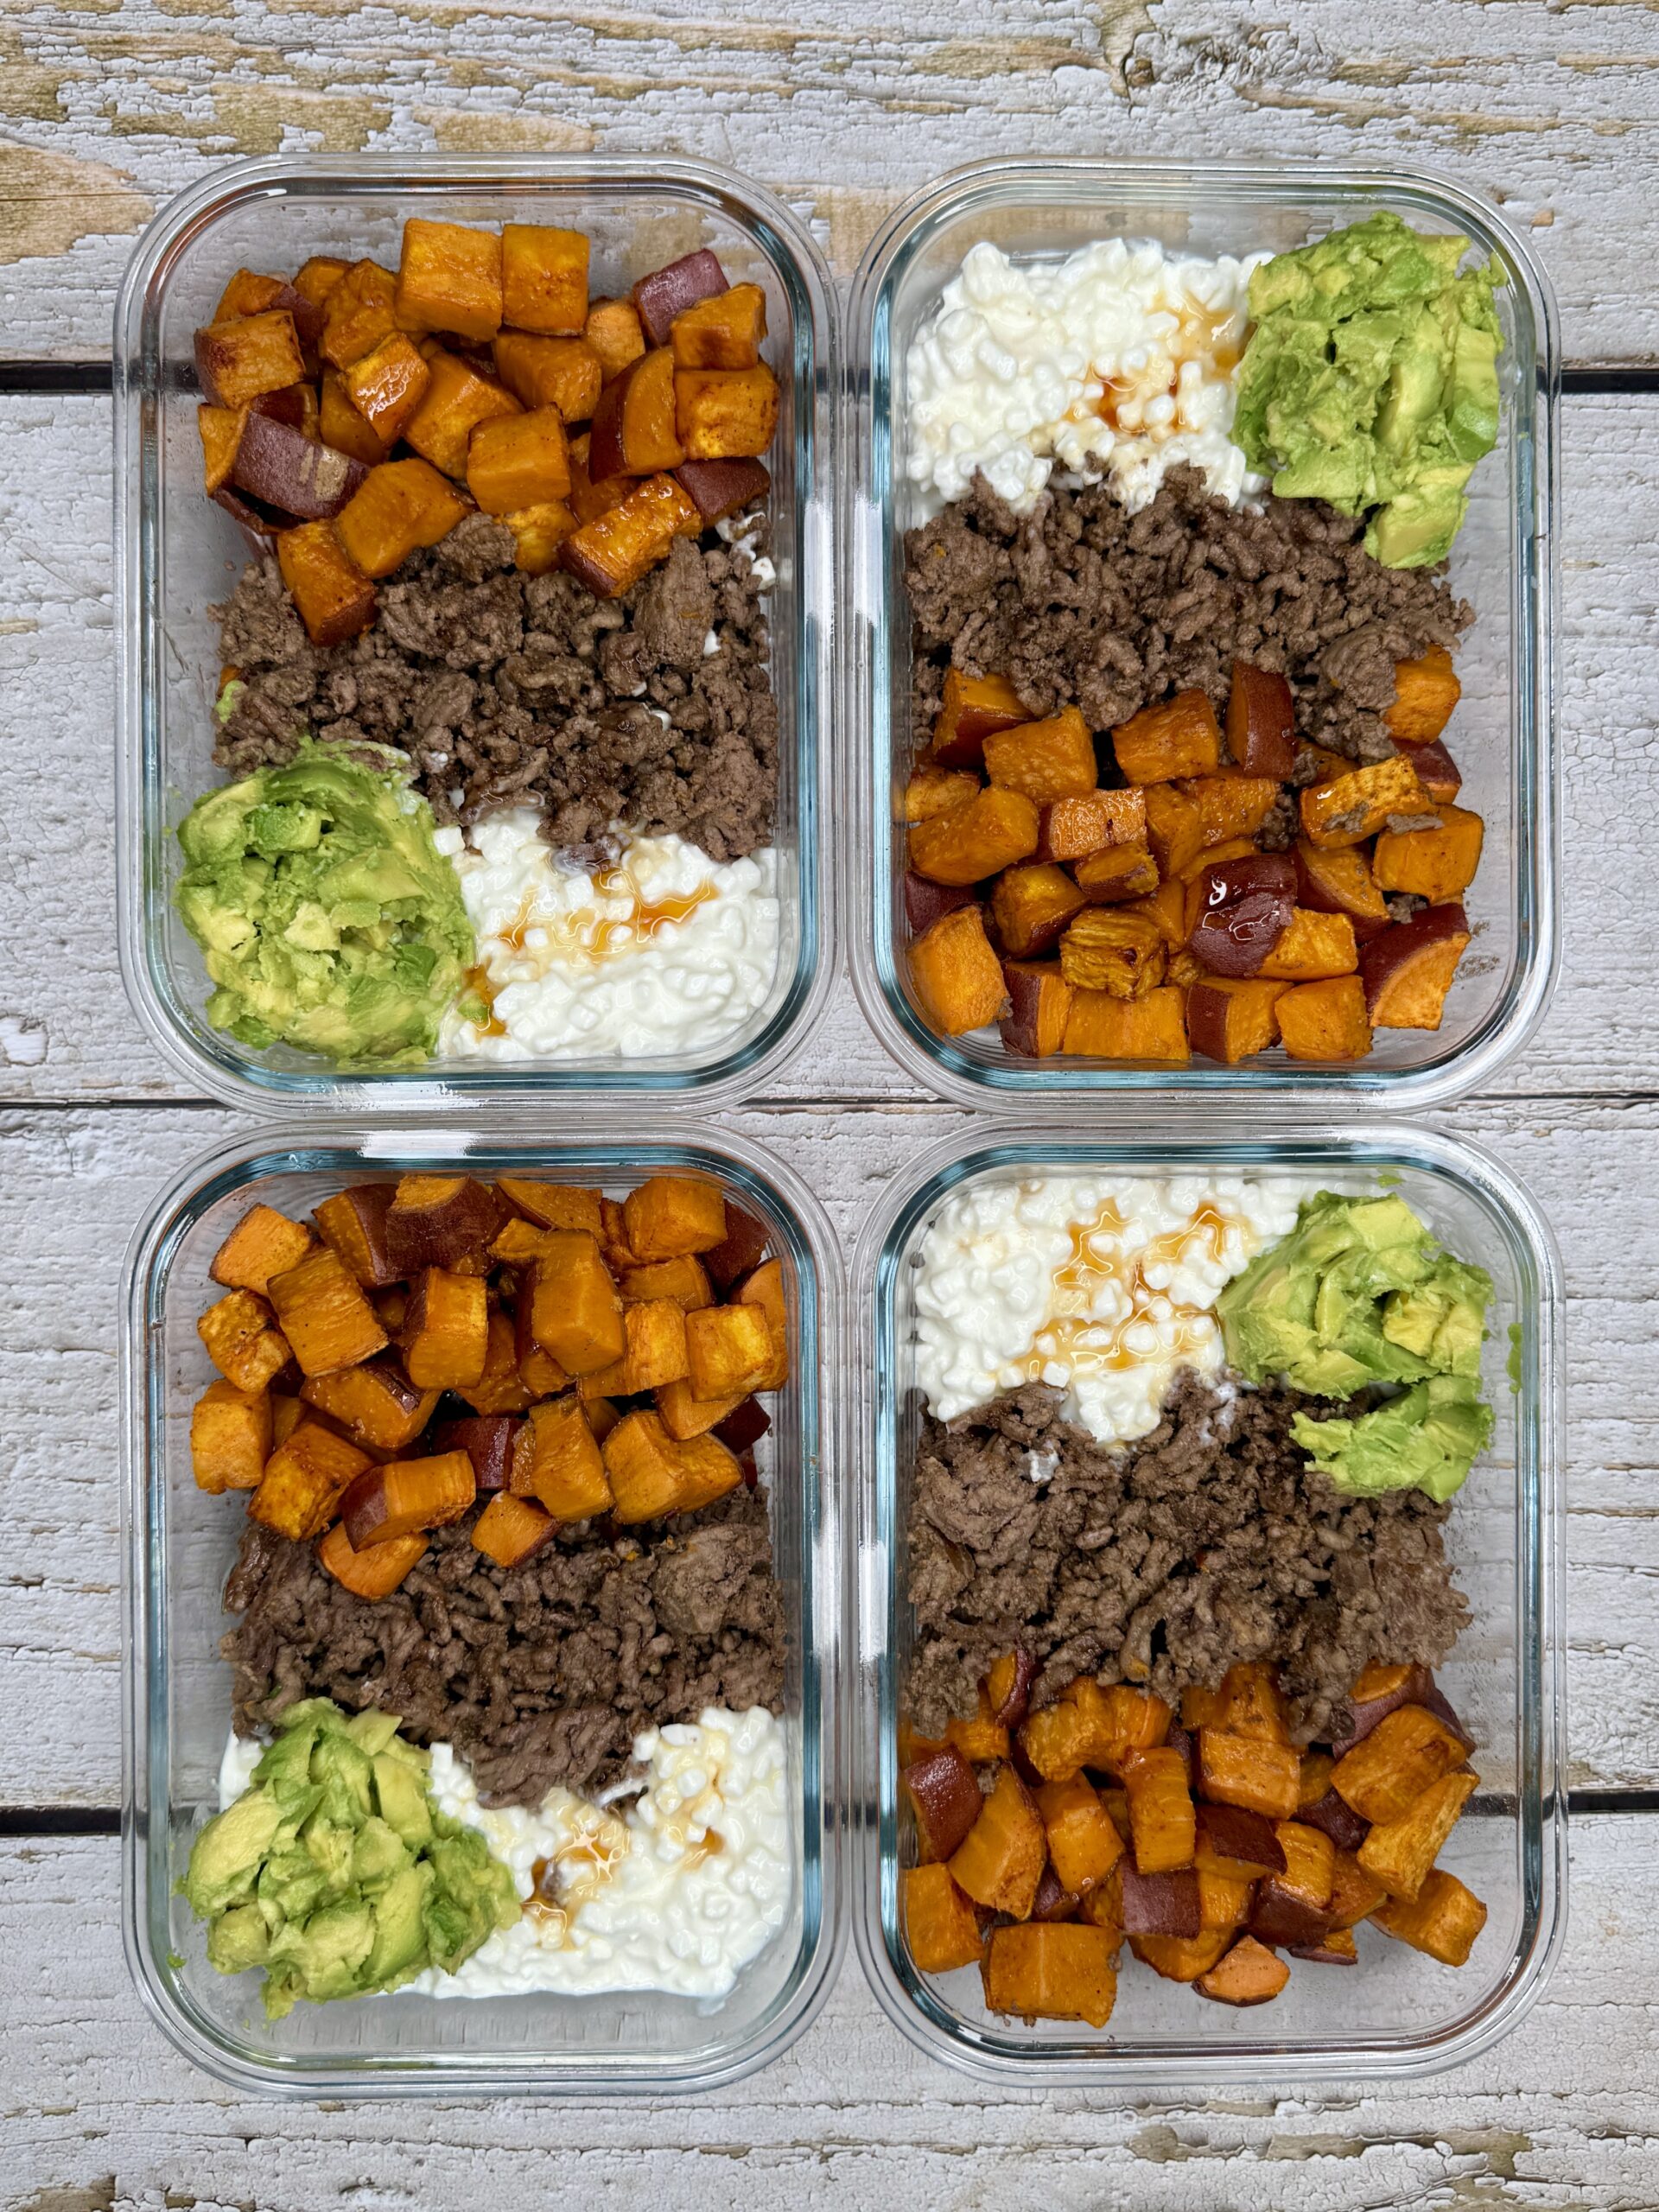
- Mongolian Ground Beef and Rice Bowls – a quick, flavorful beef option with fresh veggies.
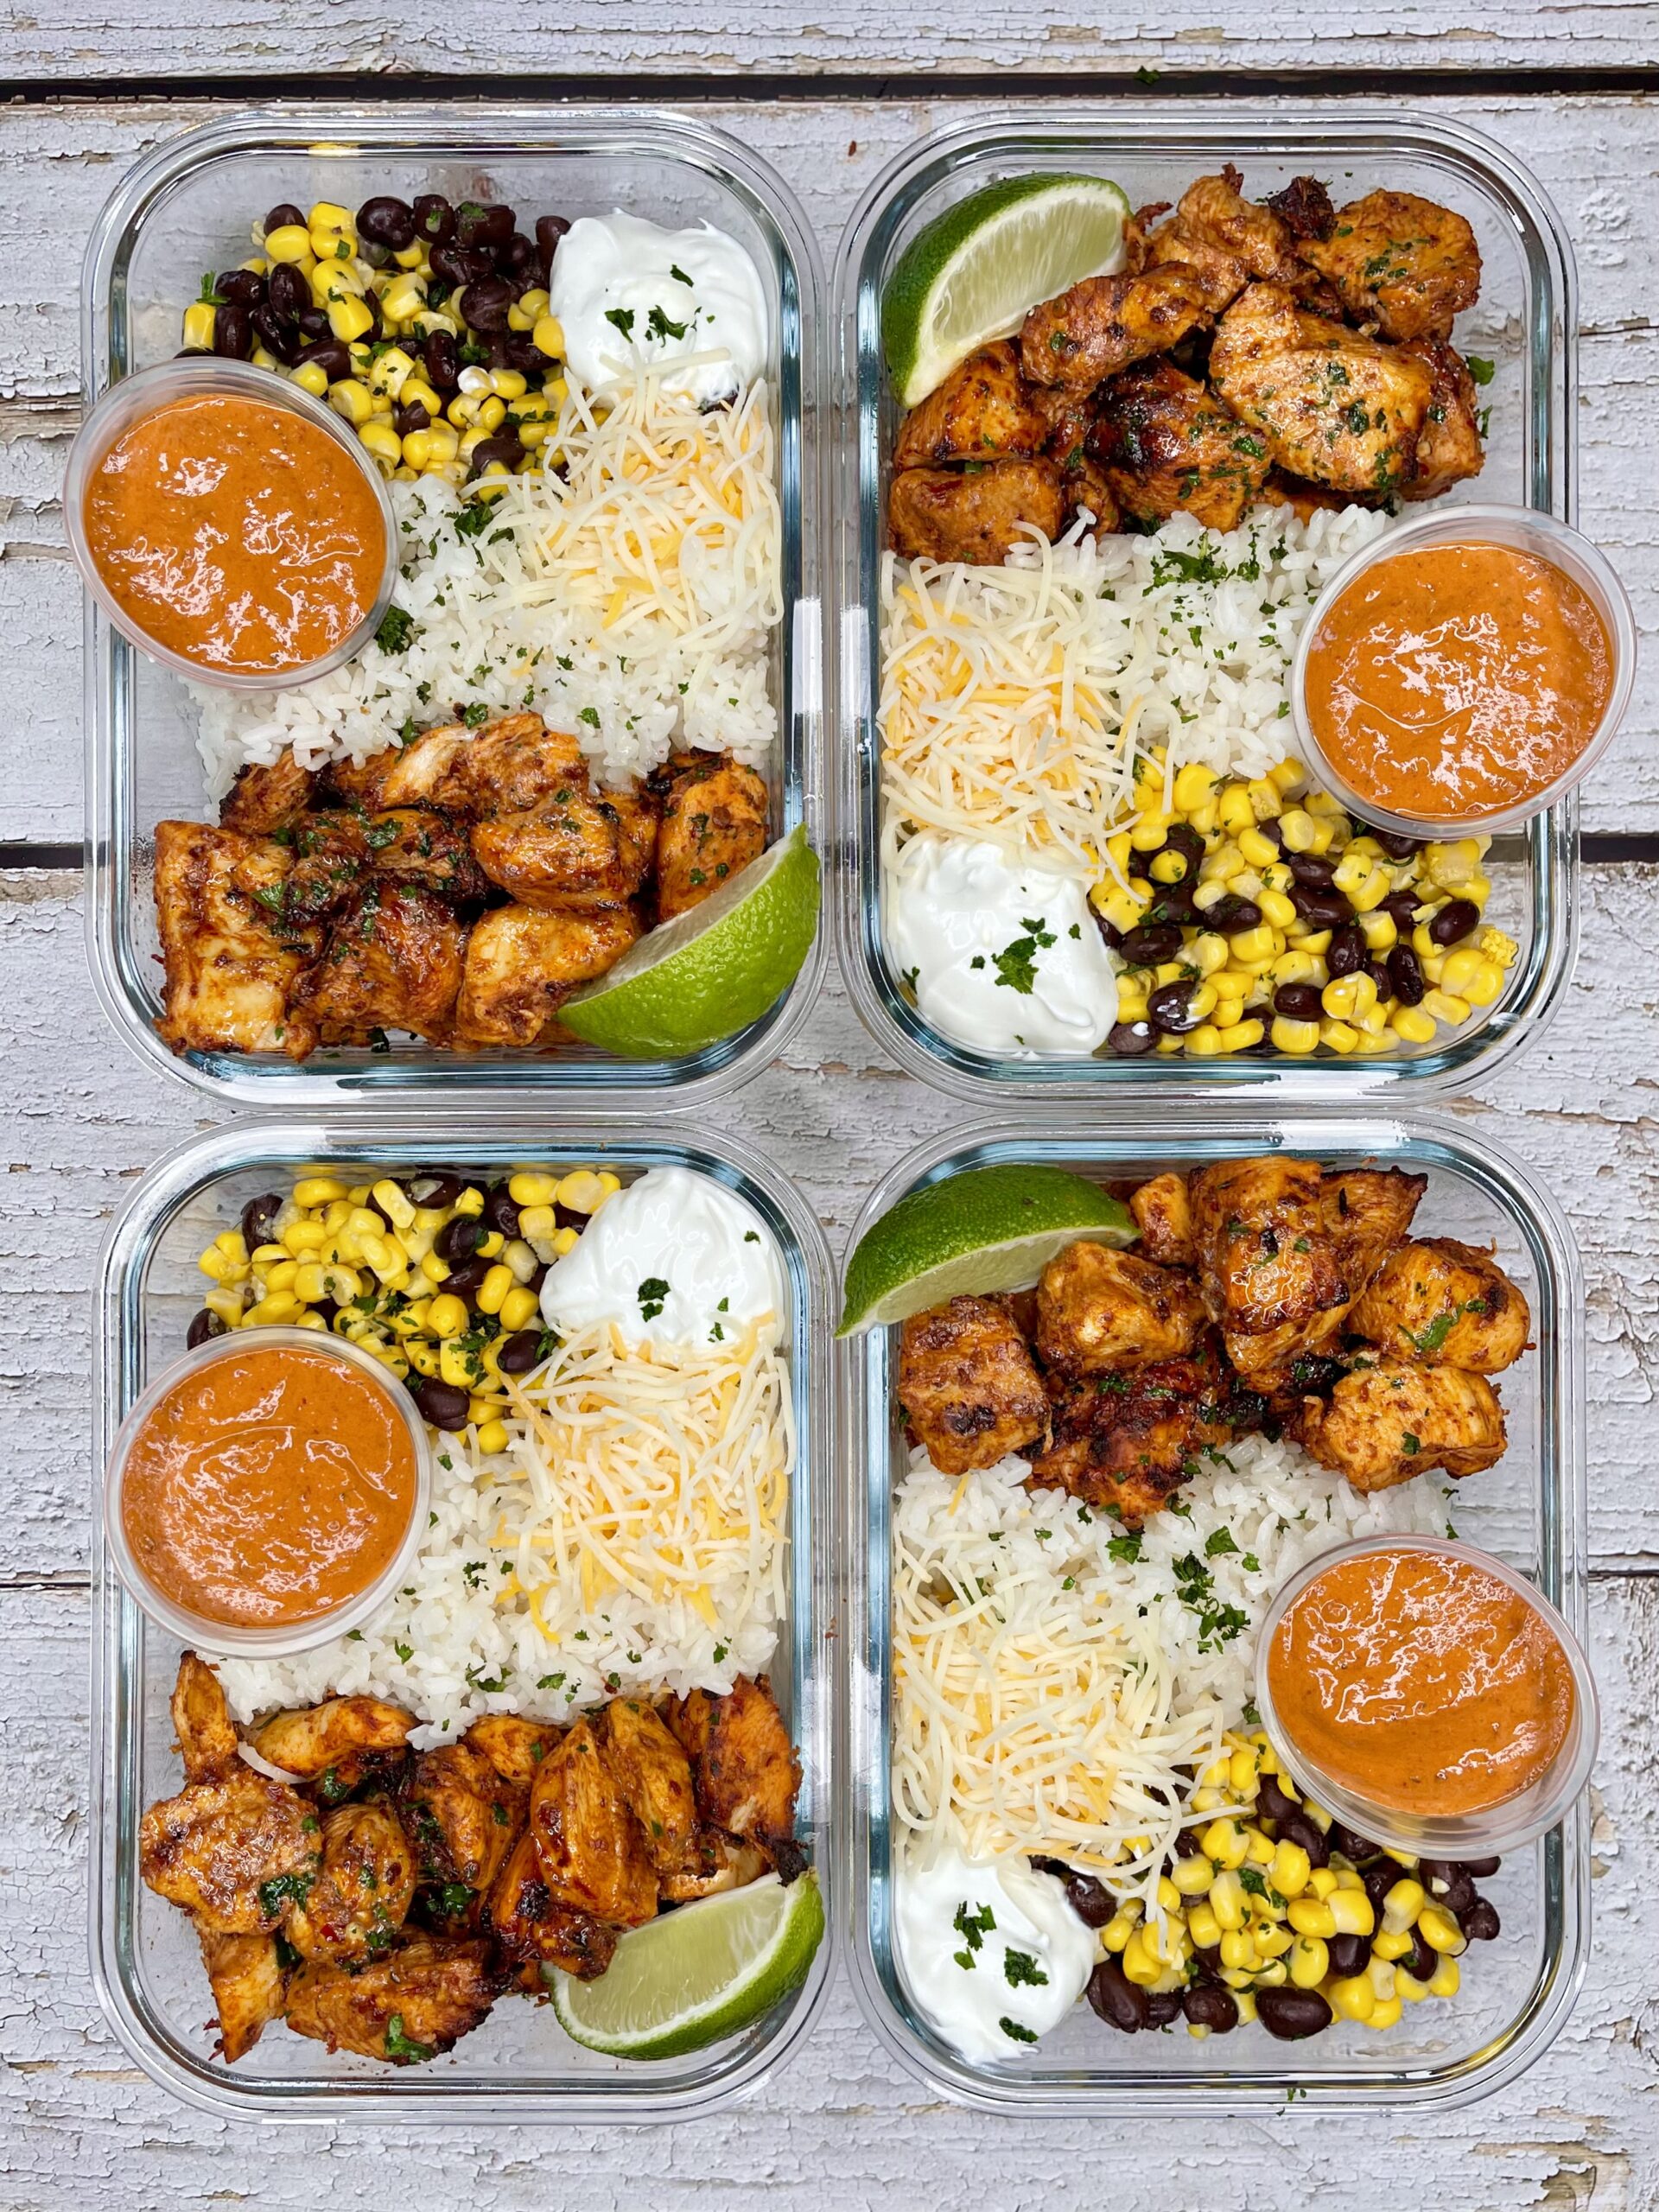
- Spicy Honey Habanero Chicken Pasta – creamy, spicy, sweet with crispy chicken and delish pasta.
- Honey Pepper Chicken Mac and Cheese – sweet-spicy glazed chicken thighs meet creamy mac.
Thank you for stopping by! I hope you enjoy this Quick & Easy Air-Fried Mongolian Chicken with Protein Mac and Cheese as much as I do. It’s a perfect balance of bold flavors and comforting textures that make dinner both satisfying and simple. If you try this recipe, please leave a comment—I’d love to hear how it turns out! Don’t forget to explore my other recipes for more delicious and healthy meal ideas. Happy cooking!